
Now the warmer weather is coming (hopefully) i folded the top back to expose a rather tatty top header seal.
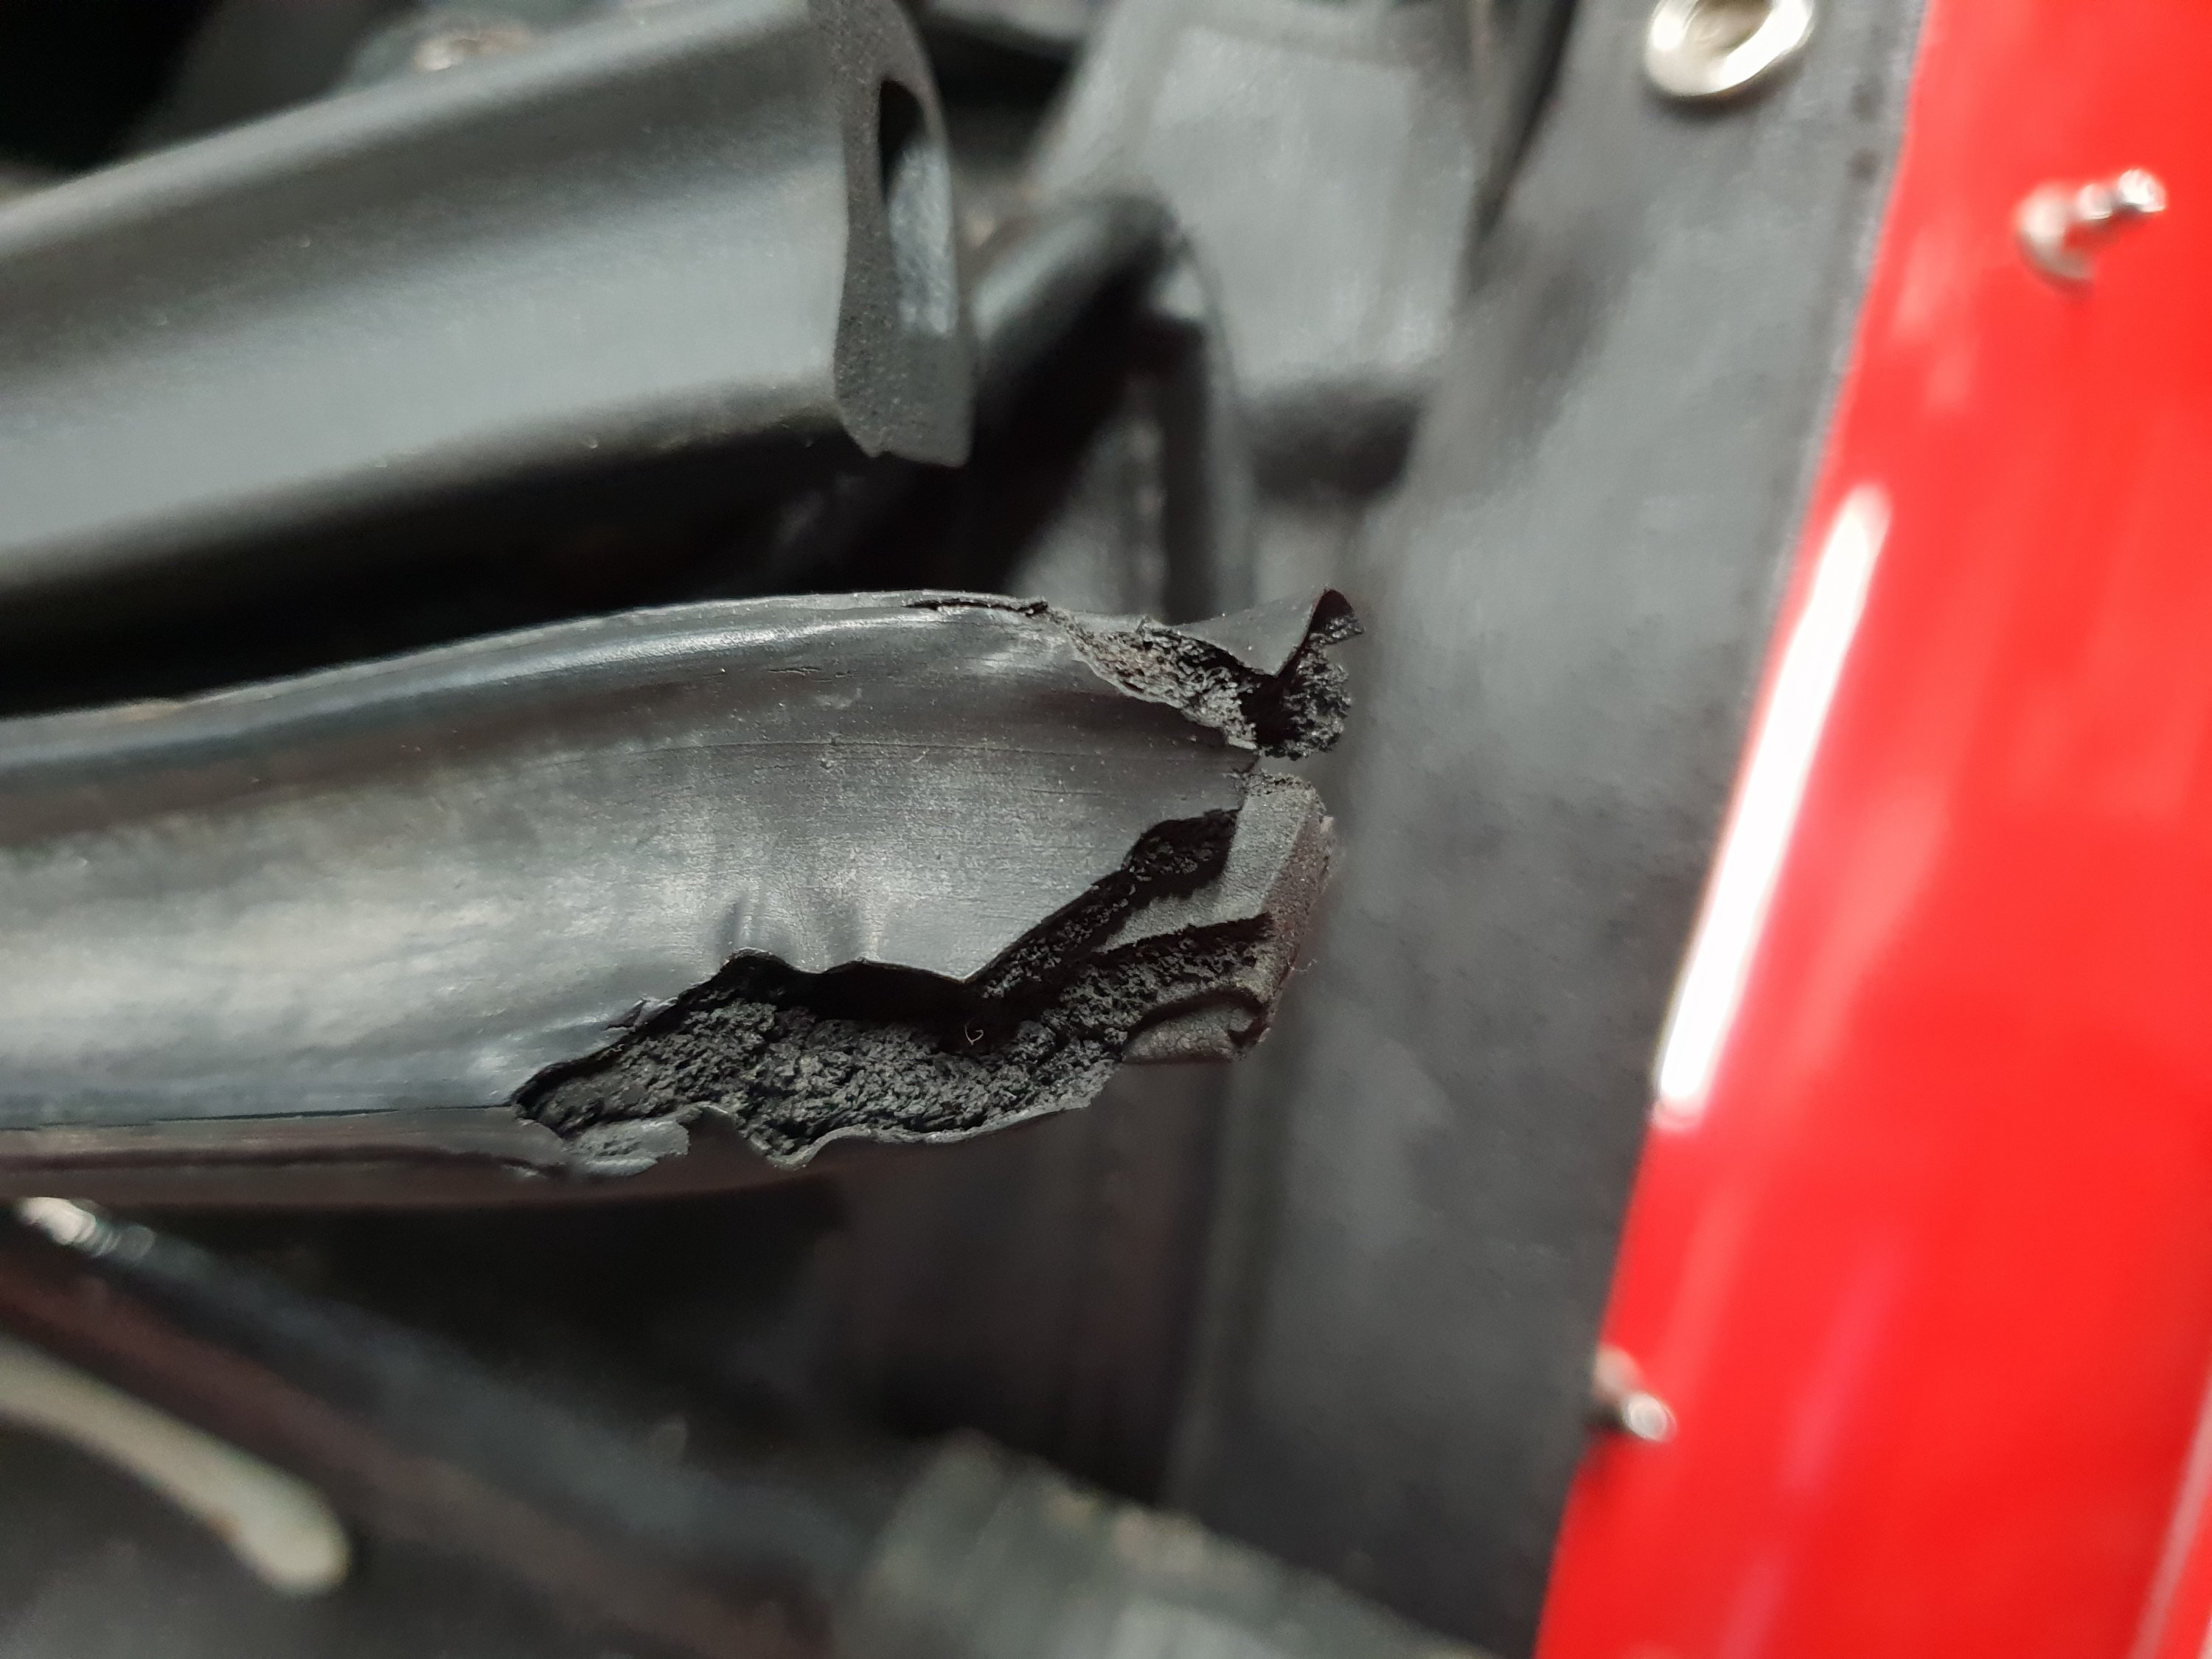
I had a spare top seal left over from when i put new seals on my hard top last year so thought this was an ideal opportunity to replace it.

The old seal pulled out quite easily to then expose the aluminium guide that is riveted to the hood. This guide had some areas which were very distorted and needed a bit of straightening.

Replaced the soft top header rail seal today. Bit of a fiddly job getting the new seal into the guide but a bit of patience slowly working along the guide with a “blunt” screwdriver gently poking the seal into the guide and job done. I then closed the top onto the windscreen before cutting the ends marked around the edges. The final cut was very close to the edge and angle of the guide ends.

Pleased with the results but surprised in the difference in cross section to the old and new seal. Is this age or a poor copy? Although the hood was replaced in 1996 the seal may have been the original 1975?
Also you can see that the section of the new seal is not concentric – the lobes on the top edge lean to the right.
See …….http://www.mgb-stuff.org.uk/bodytext.htm#headseal to explain the difference.

That’s a different profile I’m sure. The actual circumference size of the inner cavity wall is greater on the later one. You can’t reduce that by compression.
John.
LikeLike
I’d agree with you – yet it came from a reputable supplier! I had to slacken off the hood clip fittings and it does close ok but i guess the proof is when i wash the car next or get caught out in the rain.
LikeLike