
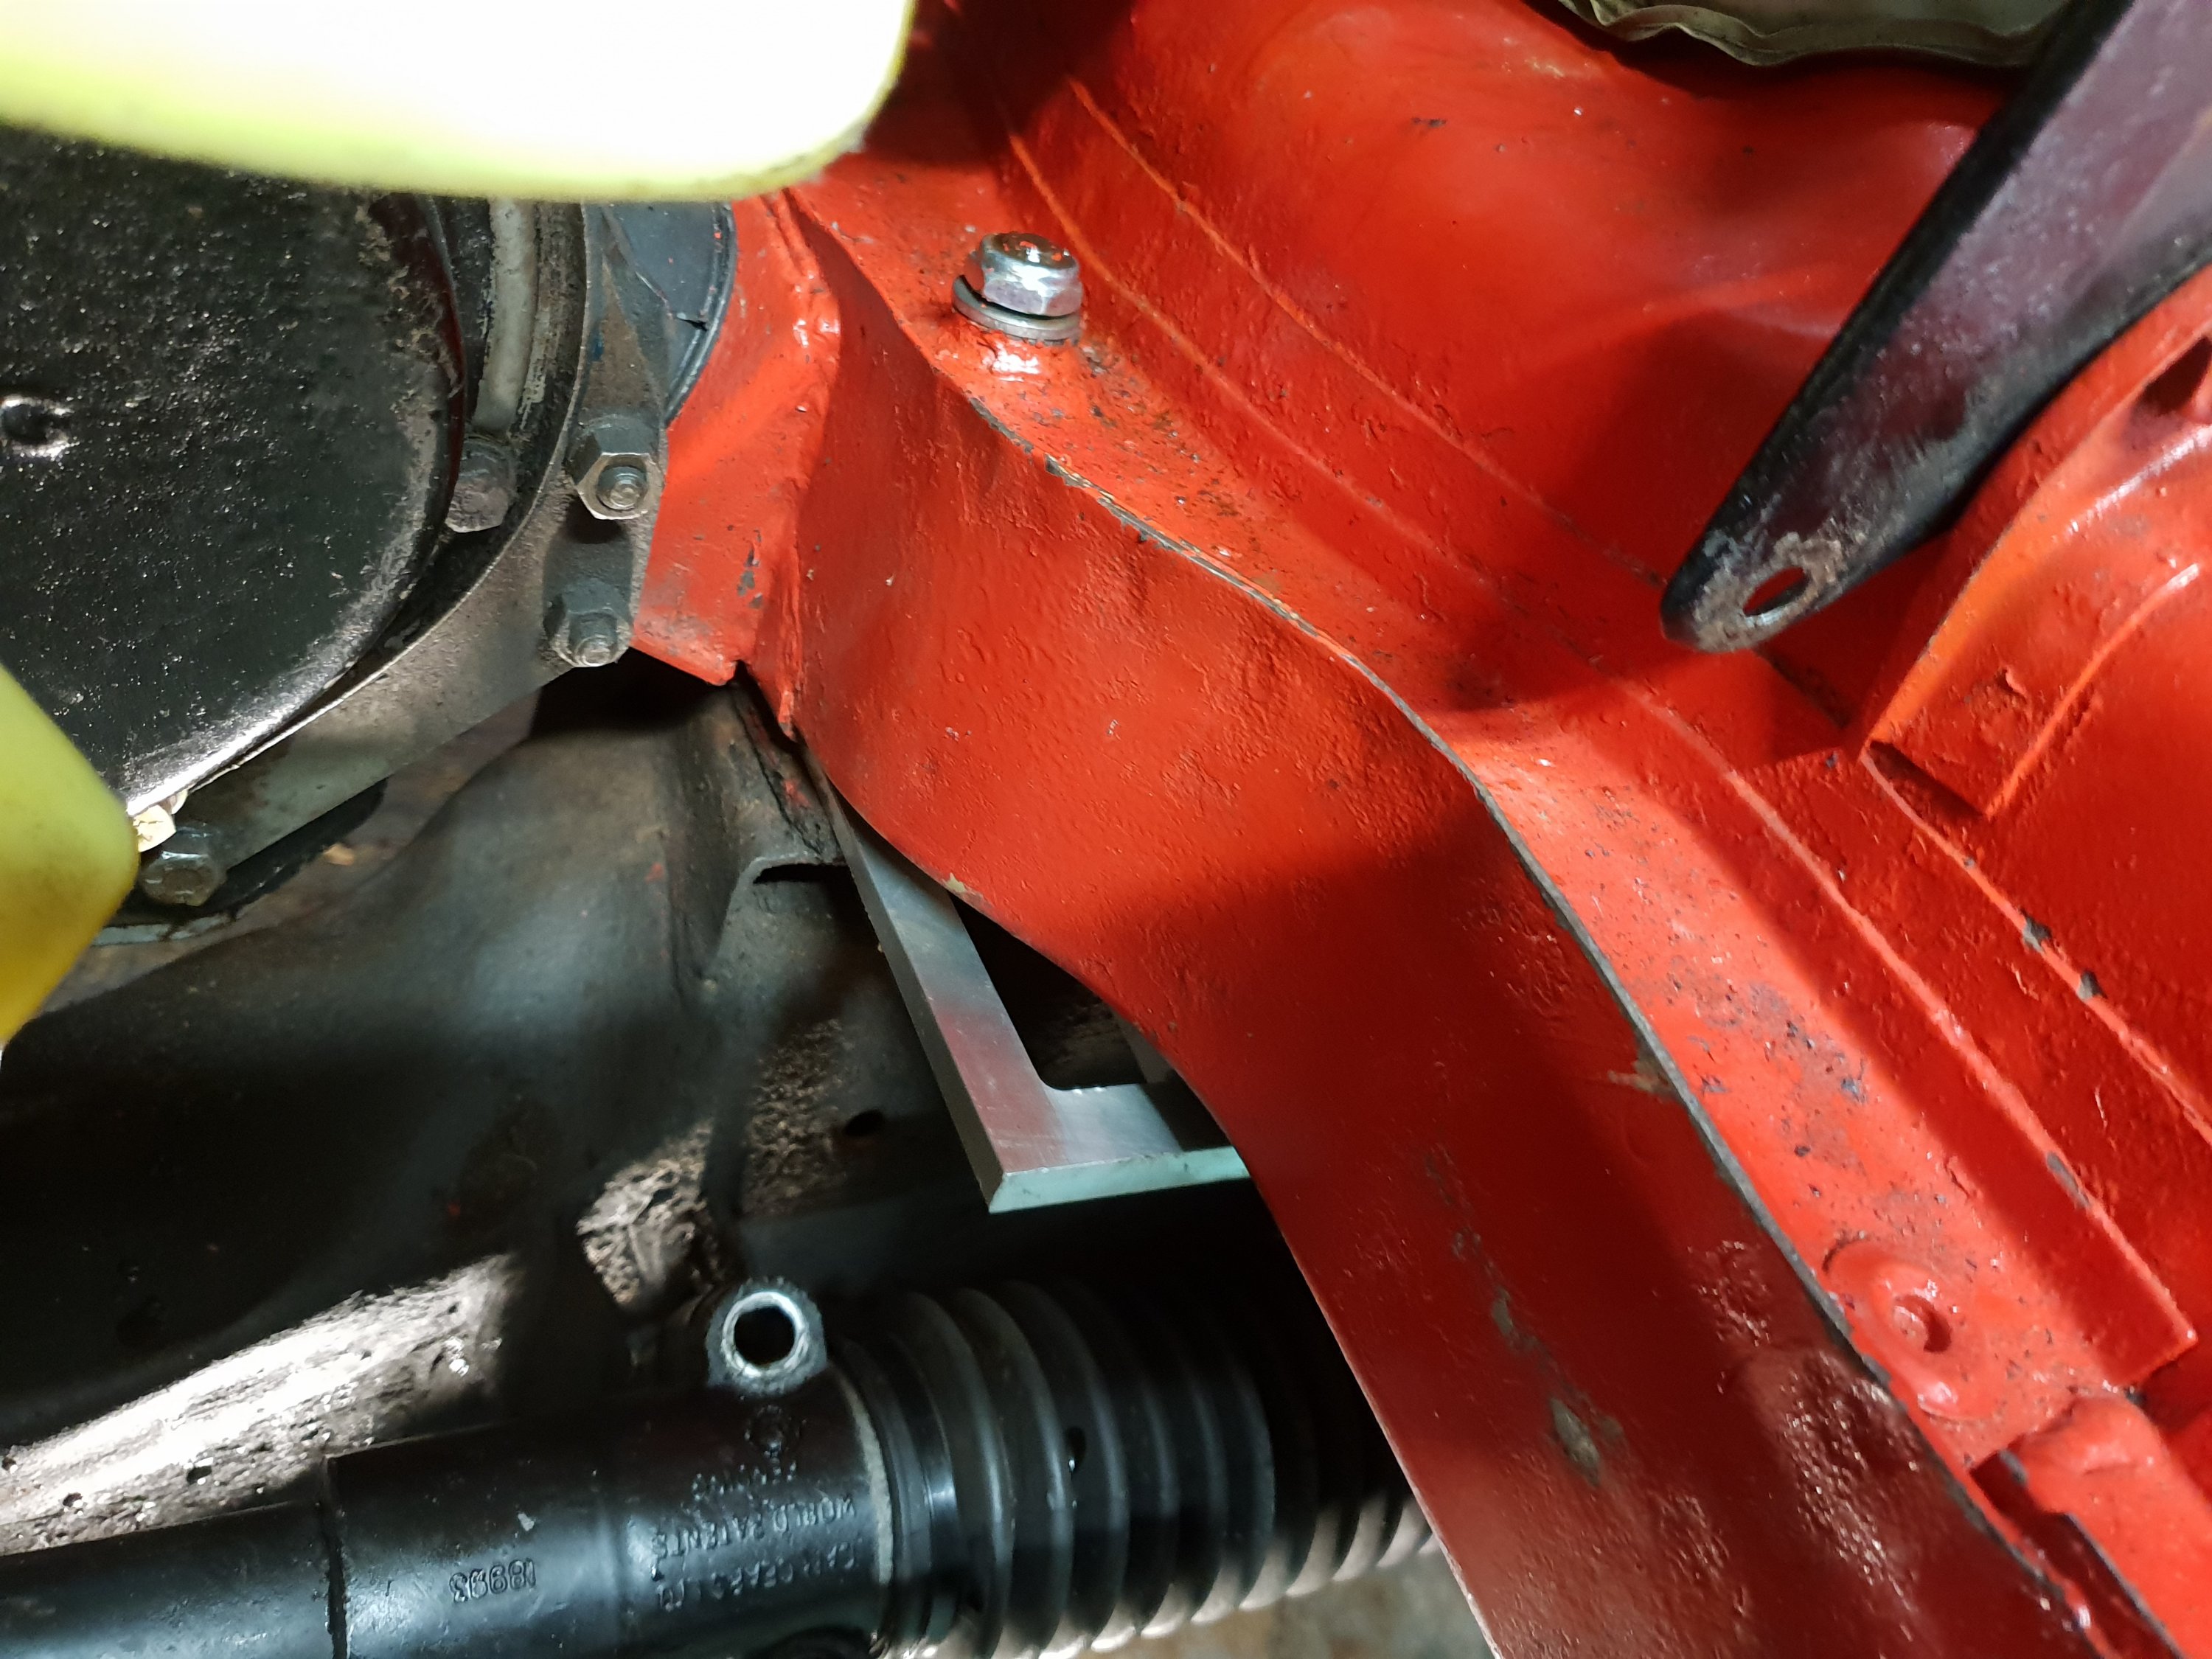
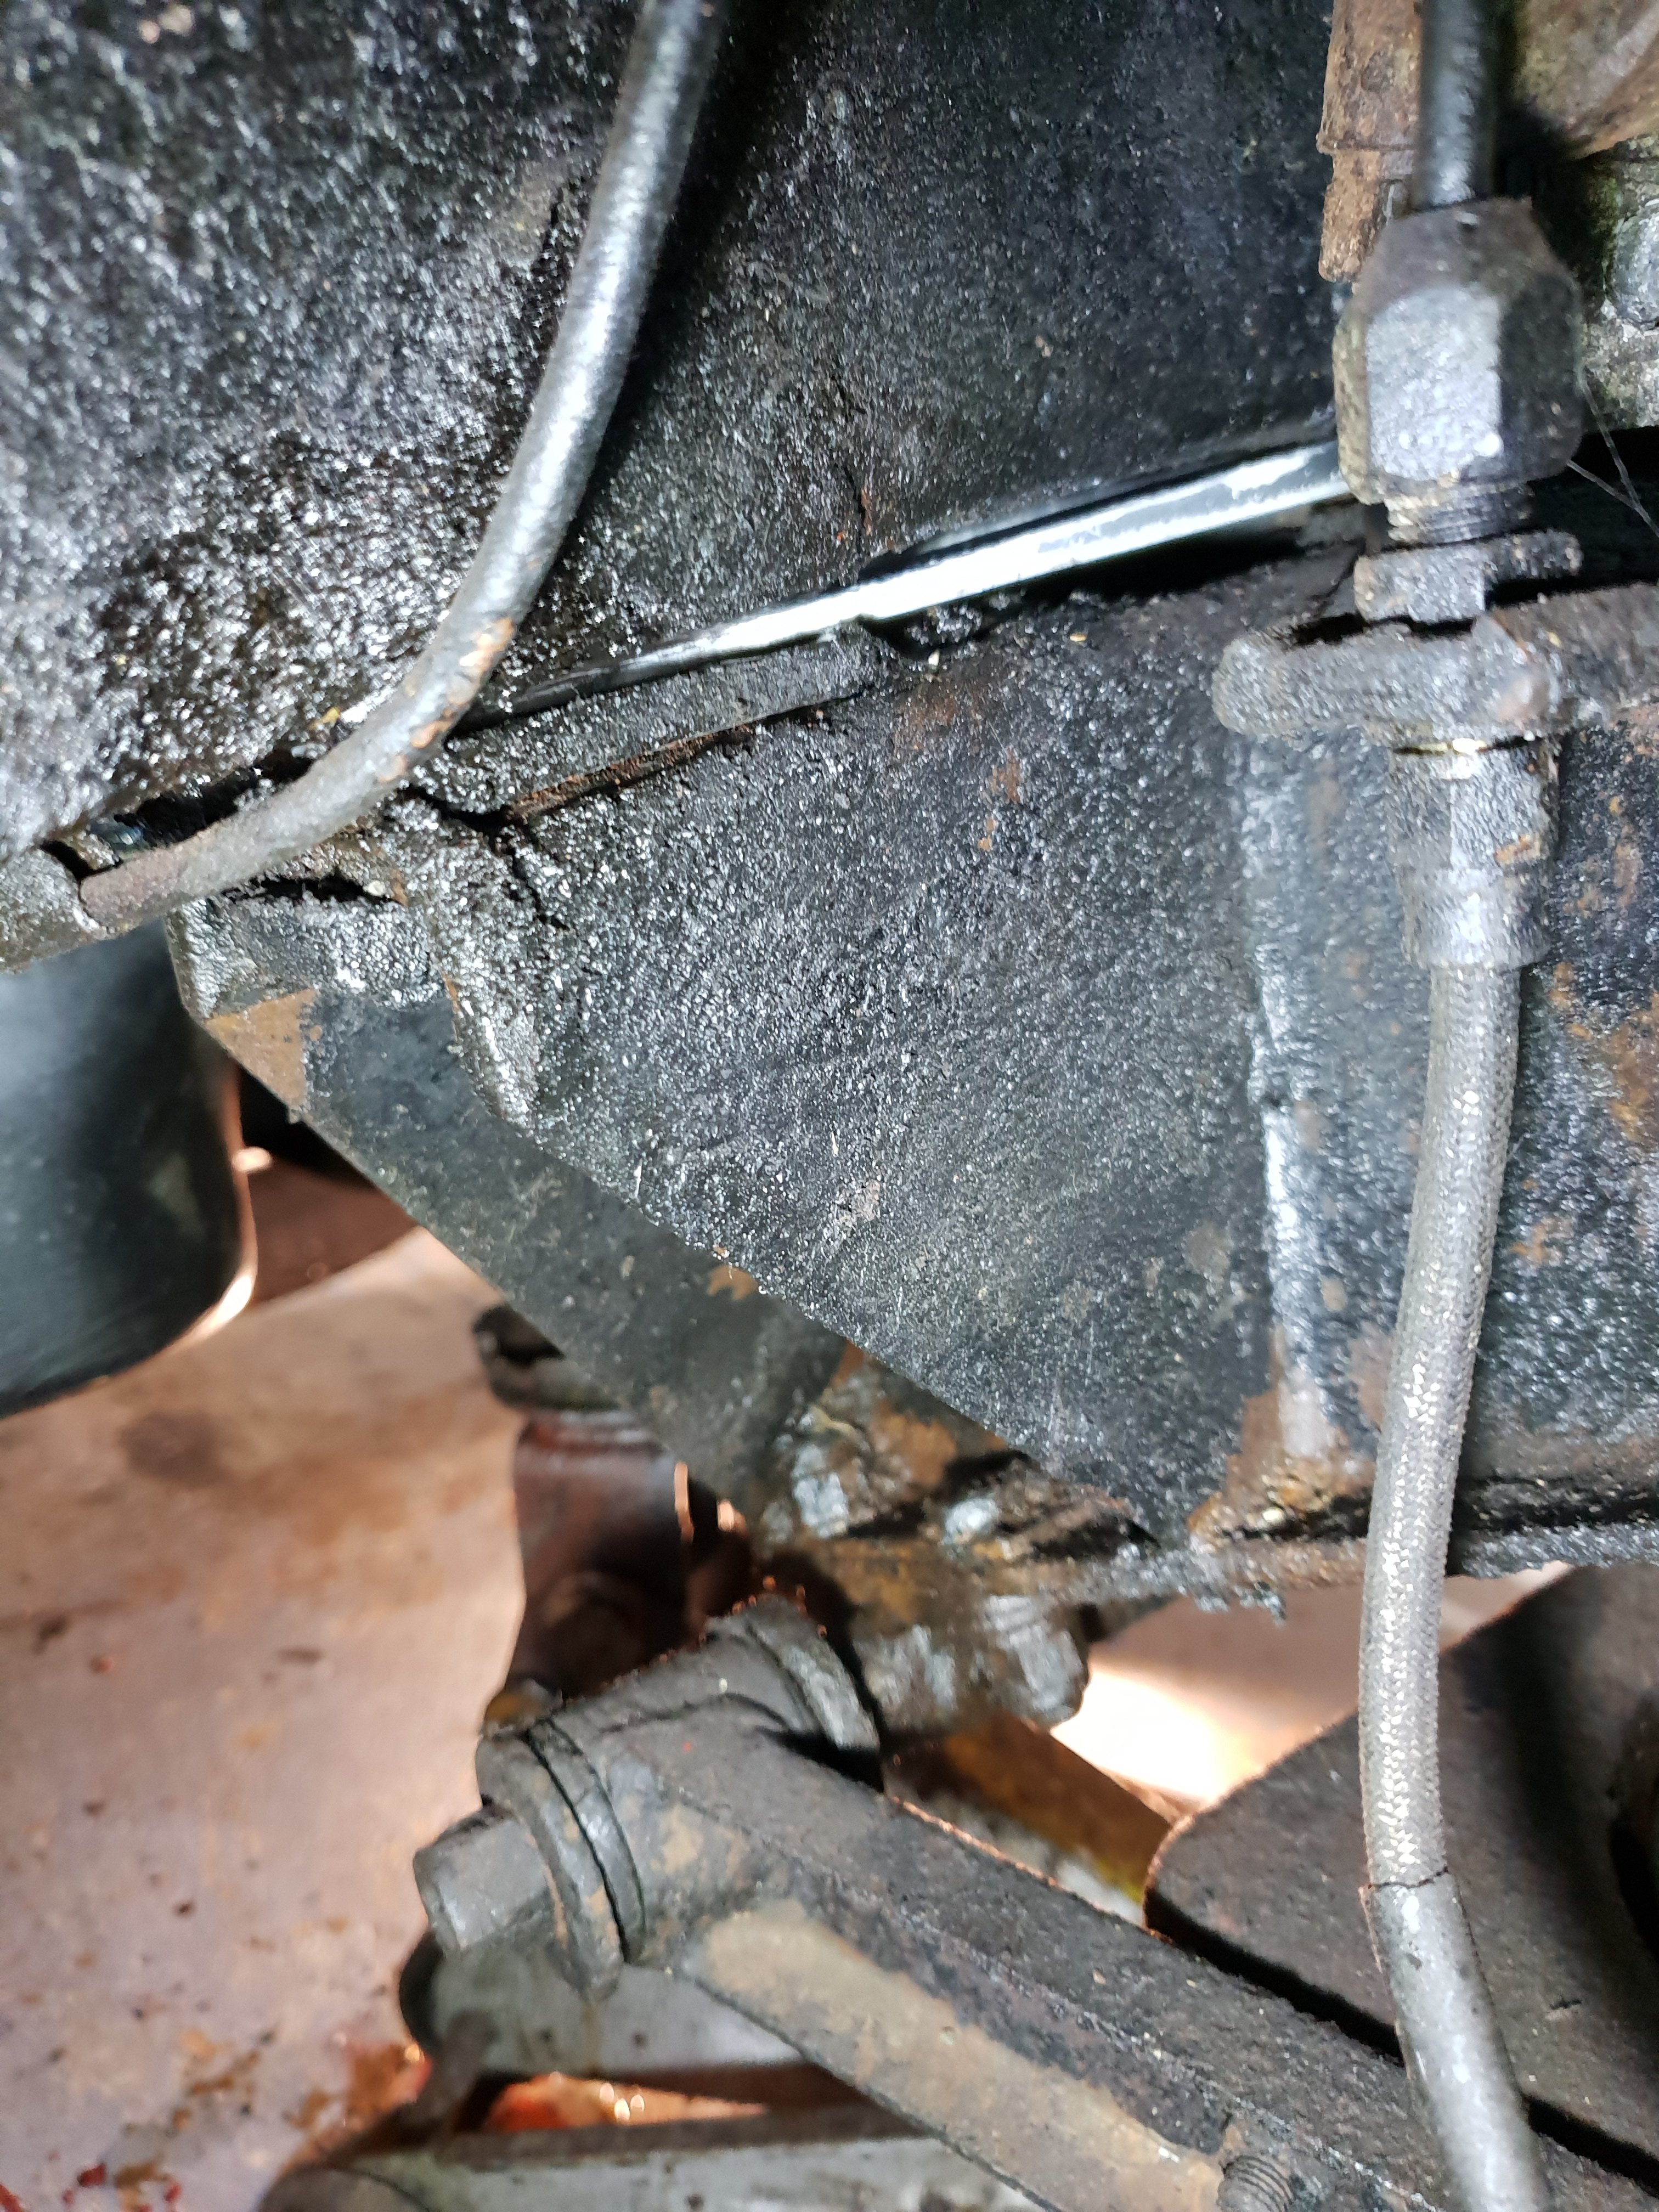
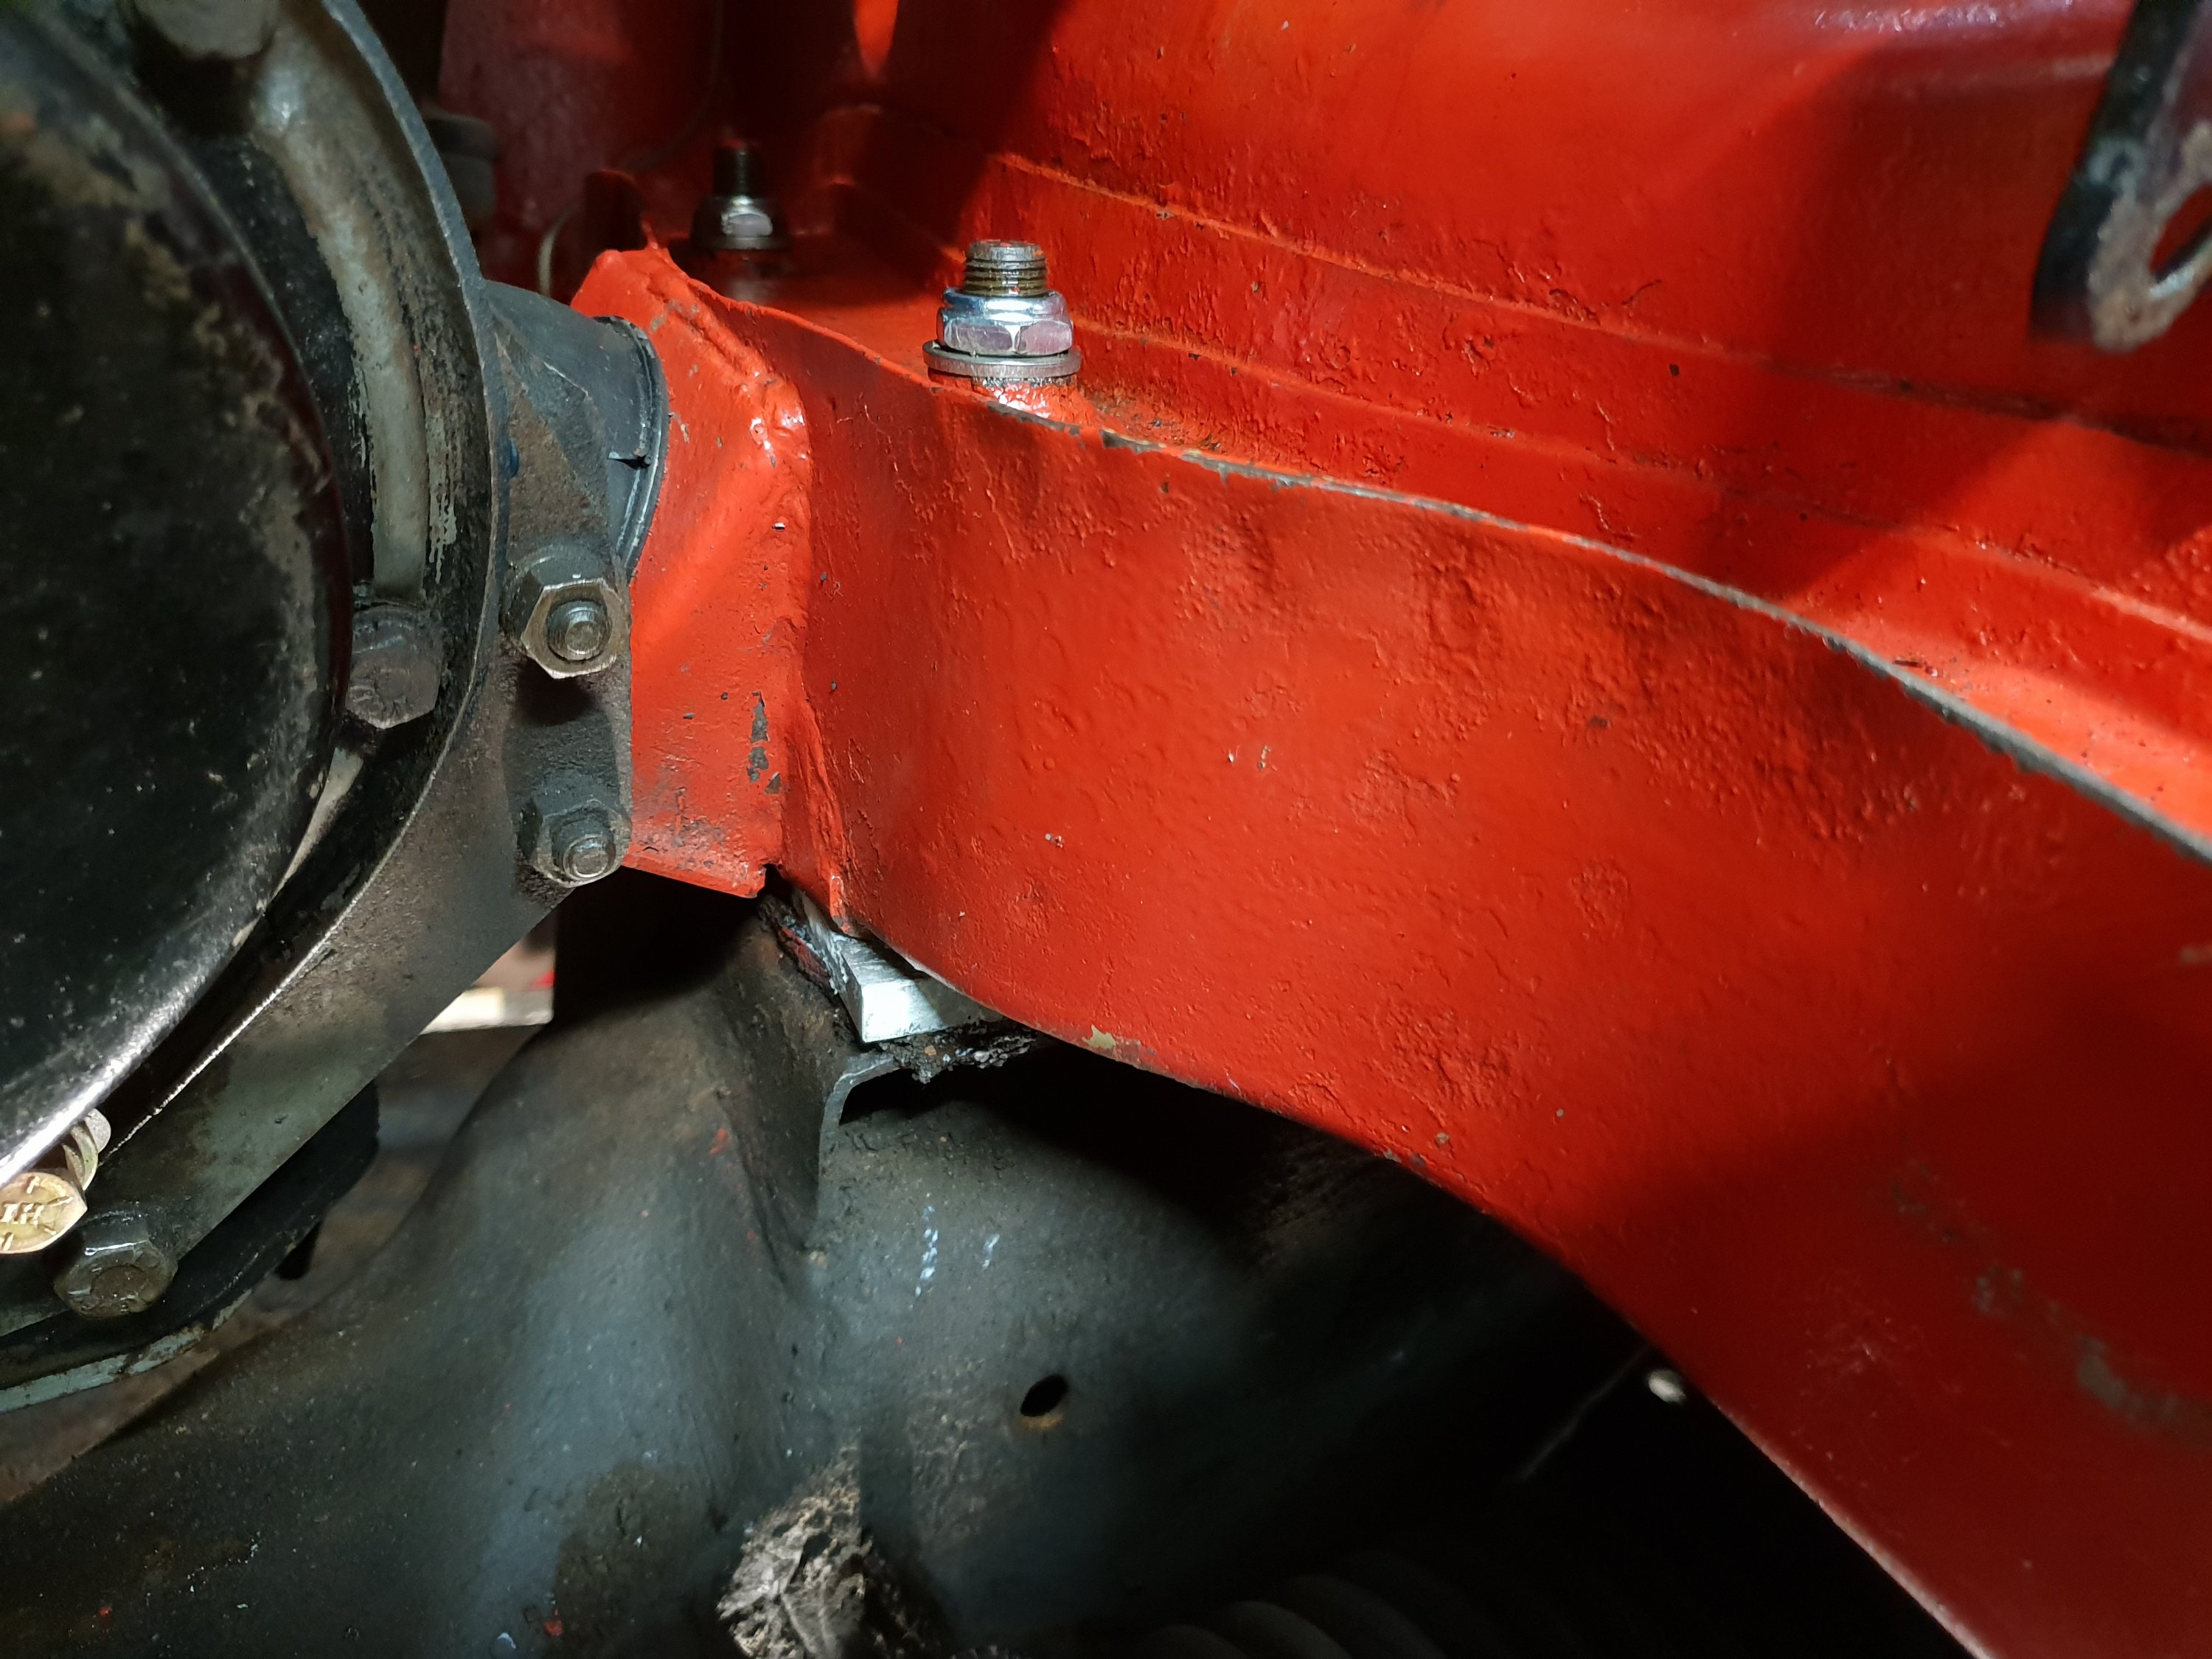
The half nuts arrived so i could continue with the job. After fitting them a few threads i dropped the cross member which was being held in place with a hydraulic jack. This left a wide enough gap to easily slide the wedges in place.
After checking they were in the correct position i jacked up the cross member and tightened up nuts to the specified torque.
The steering rack and column needs to be ‘re aligned. The official way of doing this is to remove the UJ shim up the rack mounting so that the centres of the shafts line up. Then disassemble / reassemble with the UJ in place and remount the steering rack with the same shims.
I don’t do it this way. I leave the UJ in place but slacken the UJ clamps. Put bolts through the 2 rear rack mounting holes and lightly tighten them which leaves a gap on the front 2 mounting bolts which i shim up to suit. Then finally tighten all bolts.
I check that the steering wheel turns as freely after I’ve done this as beforehand whilst the front wheels are off the ground.
Replaced the radiator and the engine ready. Next i checked the tracking so the toe in was the same as before i started the job with the Trakrite tool.
Then for a test drive which was only a short trip during this lockdown. Initial feeling is not a massive difference. The steering is definitely lighter going into a corner and a noticeable reduction in self centreing coming out of a corner …….. but again not a massive difference.
So to summarise this little project:-
MGB Castor Correction Kit – Part 1 …….. preparing to fit the wedges
MGB Castor Correction Kit – Part 2 …….. fitting the wedges and reassembly
Gunsons Trakrite ……… cheking tracking before and after

1 Comment
Comments are closed.