
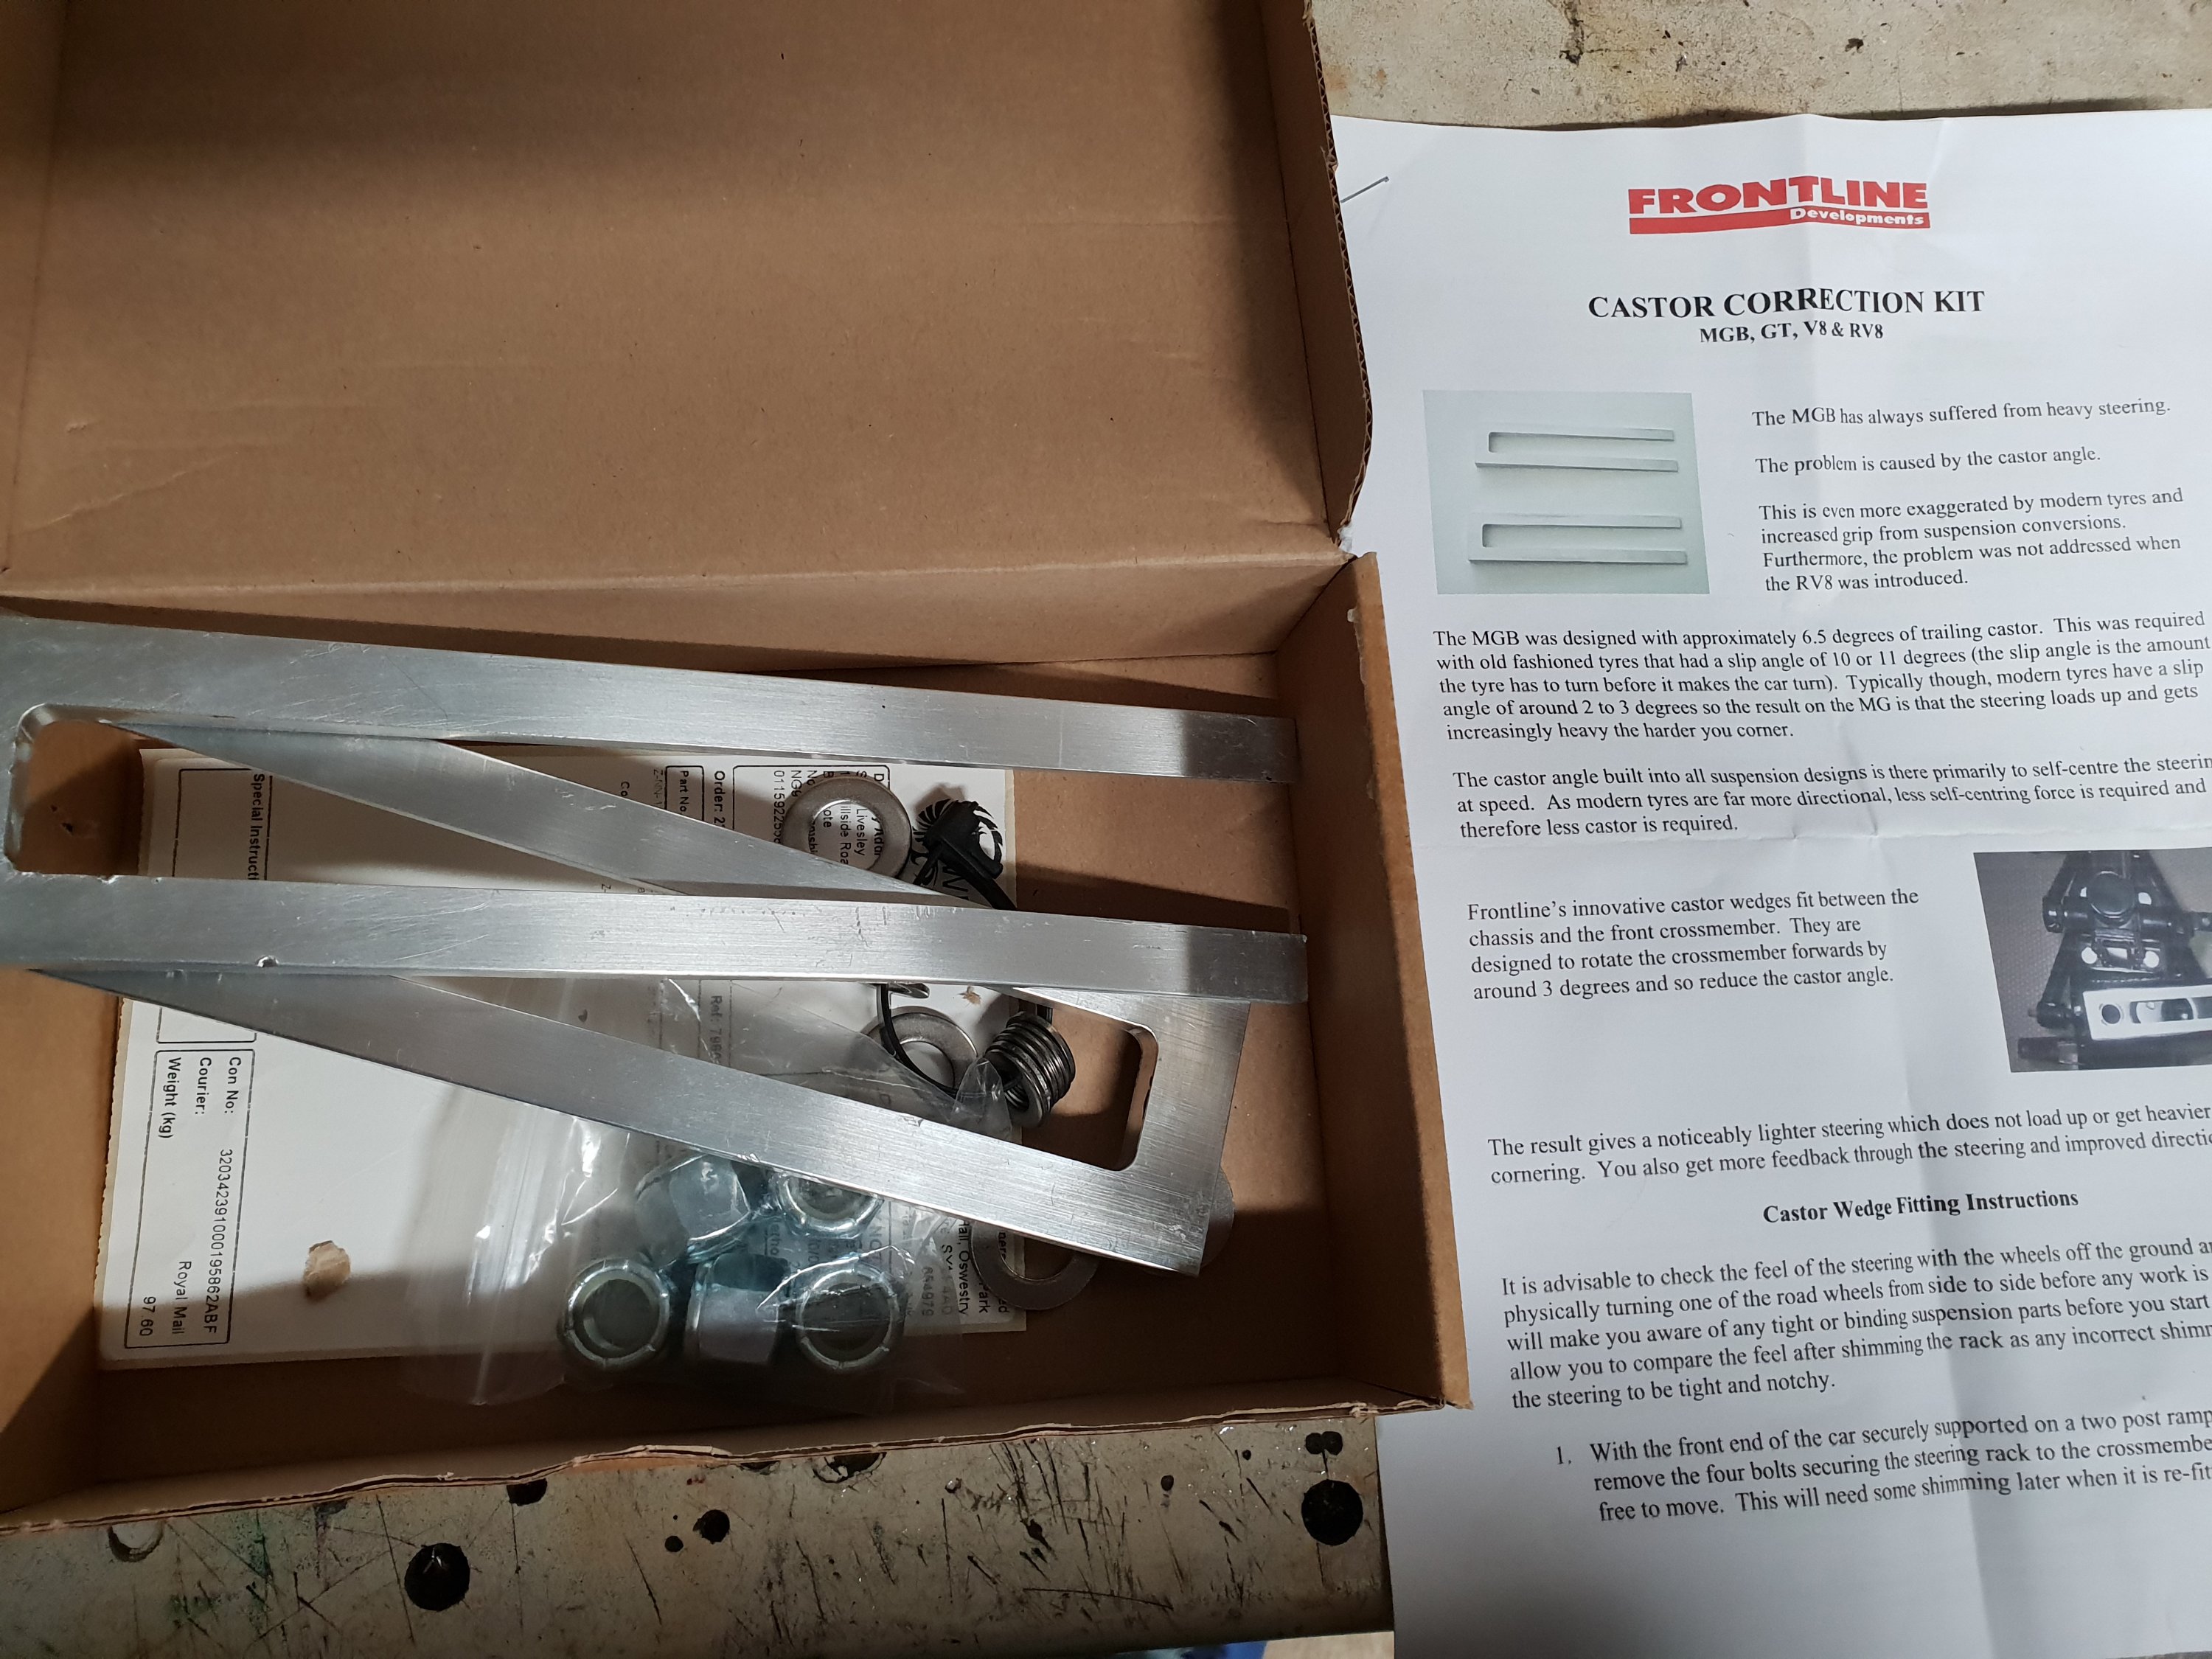
I have read mixed reports on the effectiveness of these castor correction wedges but I decided that seeing as I was getting pretty bored during this lockdown it would be something to do!
Got the car jacked up on axle stands on the body chassis members with the hydraulic jack under the front cross member.
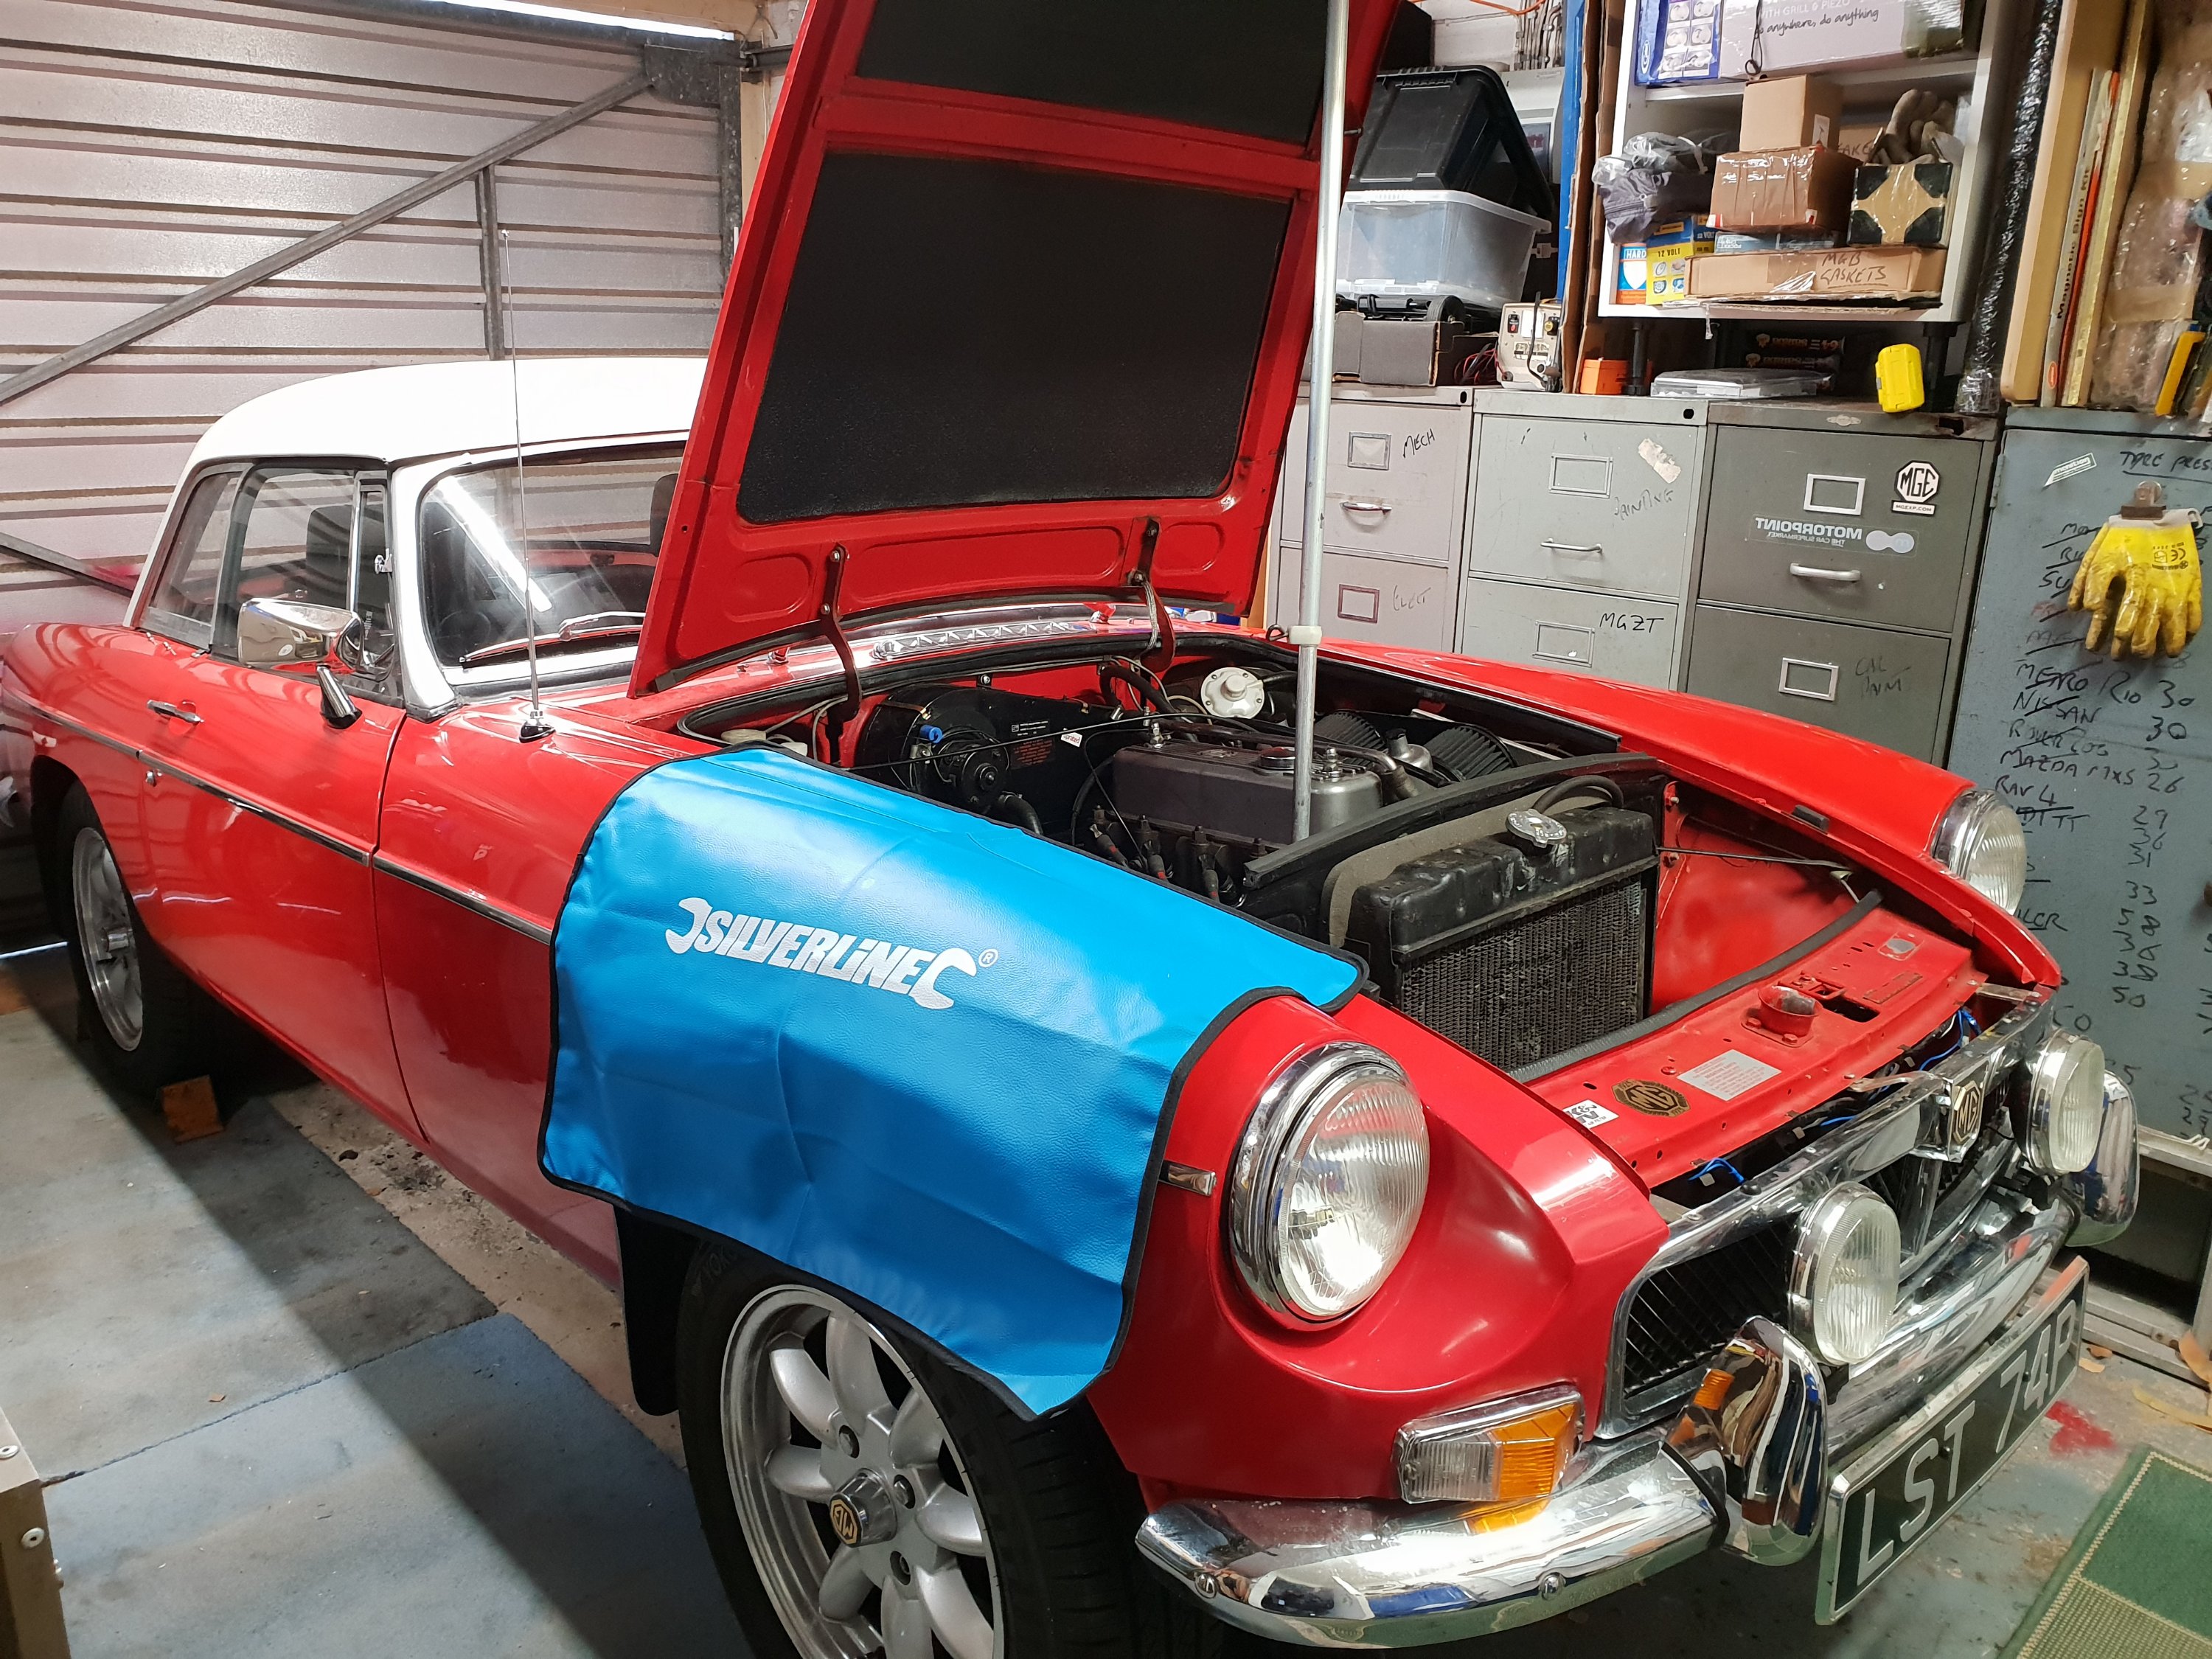
Although the instructions did not suggest removing the radiator I decided it would make the job a lot easier – which I would certainly recommend. The fact I have had the radiator out several times since I’ve had the car made the job quite easy.

It was this stage when i slackened off the 4 nuts holding the cross member that I realised that I needed half nuts to replace the existing full nuts due to the fact that I was adding about 6mm of wedge between the cross member and body ……. straight onto eBay and ordered them. I had bought the wedges from eBay and had been removed from another MGB (obviously they were not impressed with them!!) and did not come with the correct nuts.
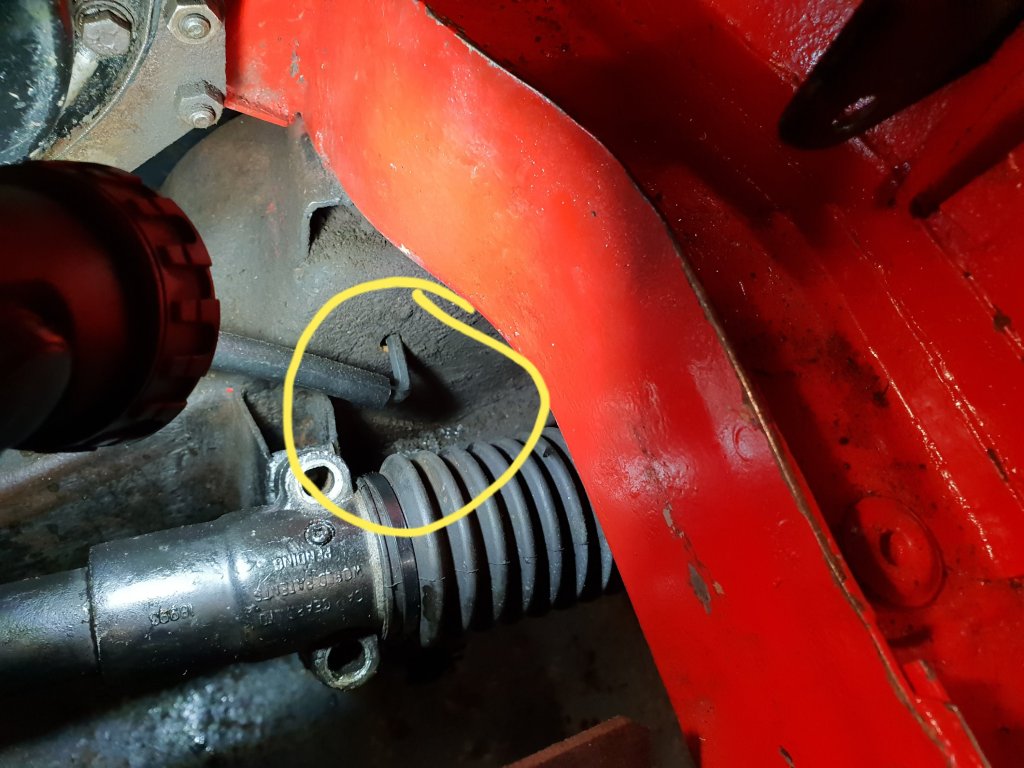
It took me a while to locate the holes you need to insert a screw driver under the cross member bolts to prevent them dropping when you remove the top nuts.
I also removed the nuts and bolts securing the steering rack and that was as far as I could go whilst I waited for the 1/2″ UNF half nuts to arrive.
So to summarise this little project:-
MGB Castor Correction Kit – Part 1 …….. preparing to fit the wedges
MGB Castor Correction Kit – Part 2 …….. fitting the wedges and reassembly
Gunsons Trakrite ……… cheking tracking before and after

1 Comment
Comments are closed.